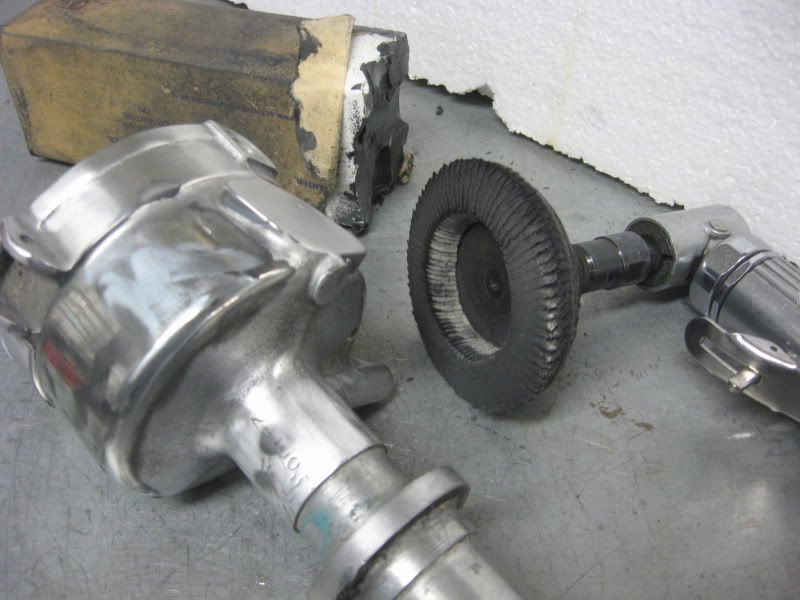
I have collection of vintage Mallory distributors, this one was back in the day marketed as "Double-Life". It has dual points, so same points have longer life... but you'll be buying two set of points anyway? ;)
.
.
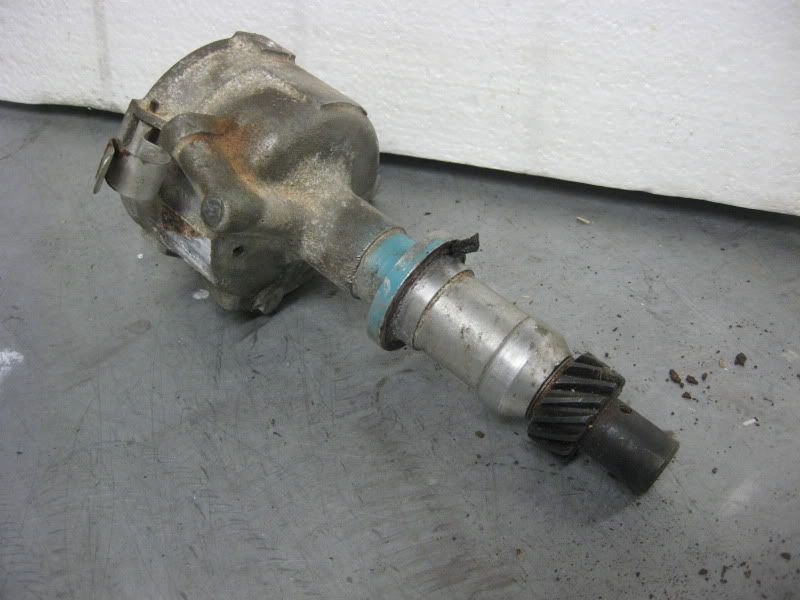
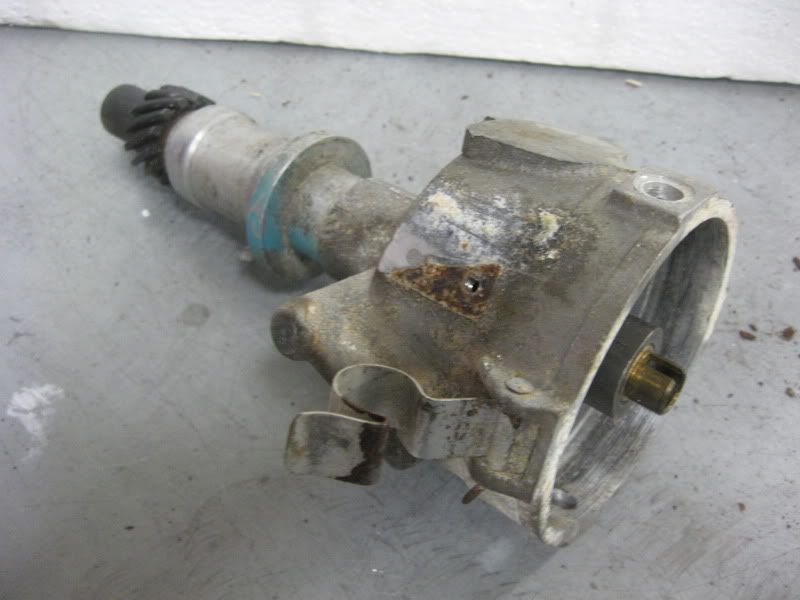
So I picked this from dusty shelfs in my garage. It has looked like this eversince I bought it.
This distributor fits for Pontiac from '55 to '81 until came GM HEI and too much electronic crap bolted under hood. It seems that this one has served in some 60's car, Pontiac used that colour in engine blocks by that time. At least in GTO's.
.
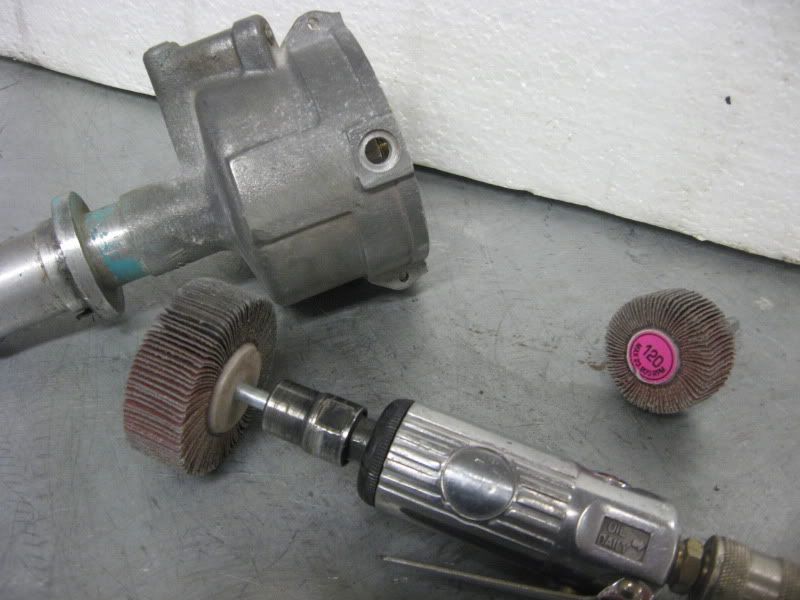
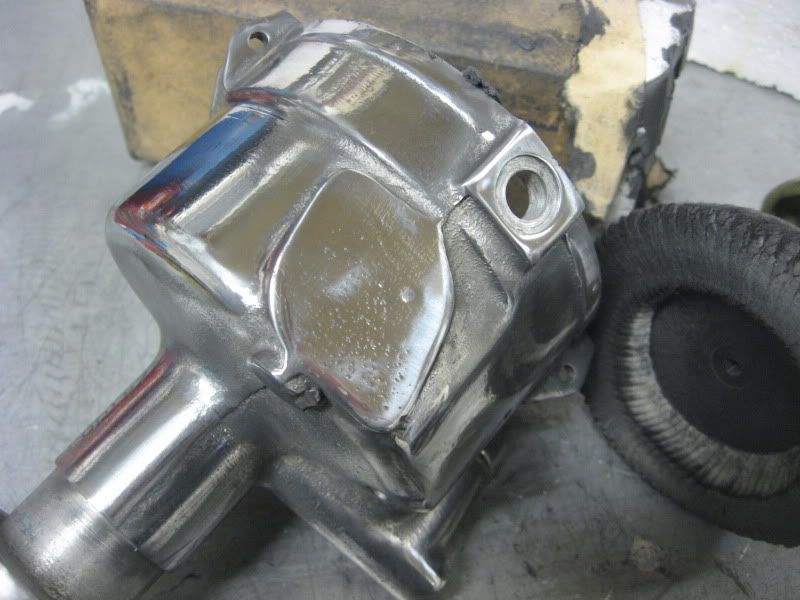
As a start, I'm using 120 grit paper, idea is to grind down all casting flaws.
.
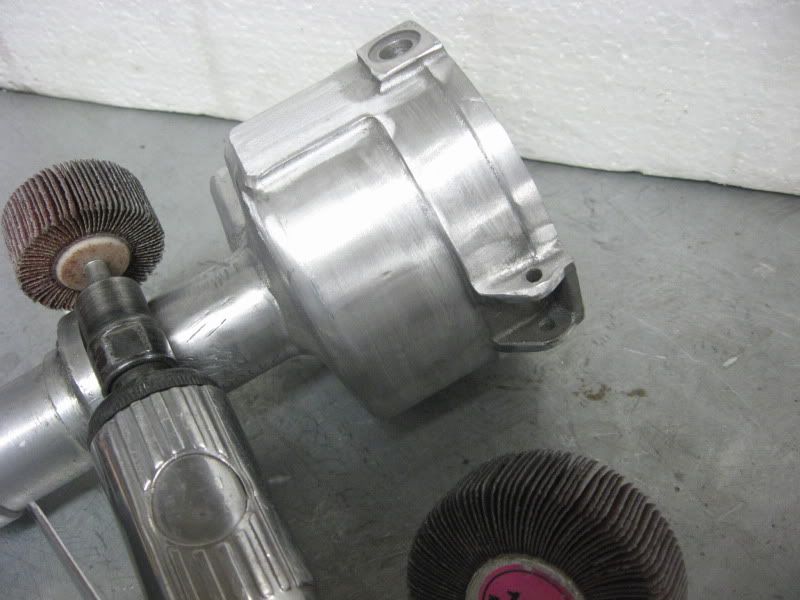
Care should be taken on which way grinding happens. It should look clean also in this phase.
.
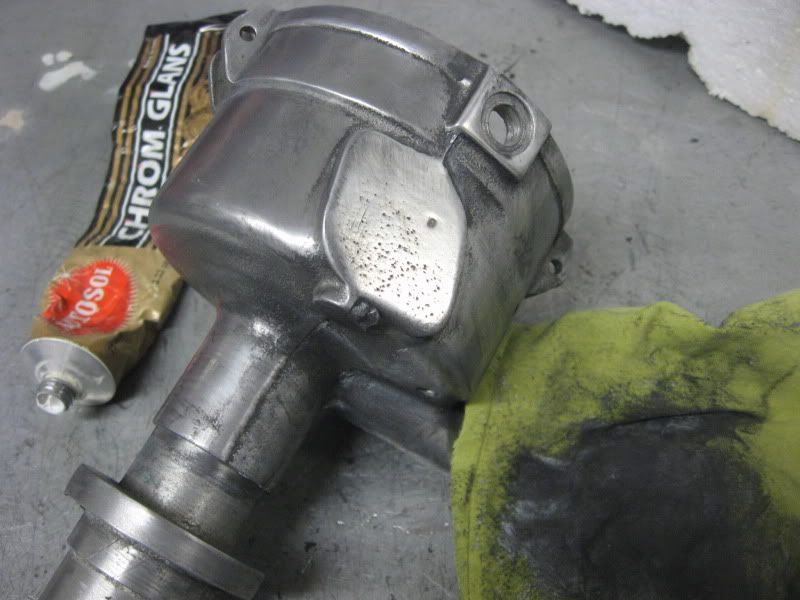
Notice that tool has changed, between flaps of sandpaper, there are pieces of material which is good for buffing. Important is to grind just the opposite way than on previous sanding grit. That way you can see when previous grit's grooves disappear, and more fine, smaller grooves takes it's place.
..
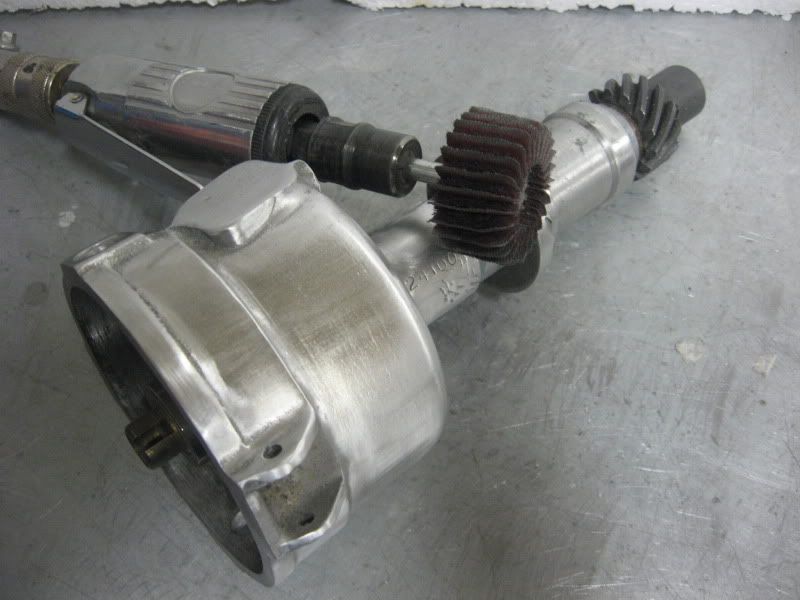
Even more fine sanding tools... and once again, sanding to opposite direction than on previous grit.
.
Next comes felt which I'm using with polishing material...
.
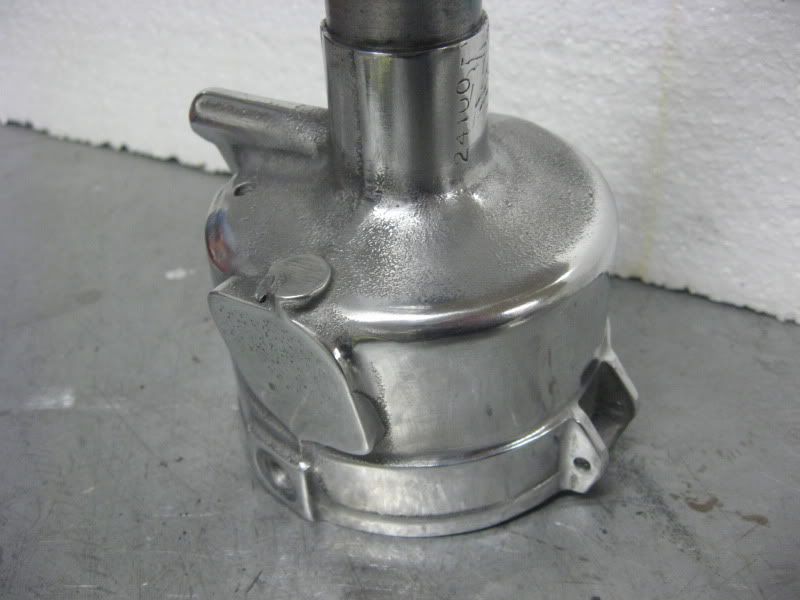
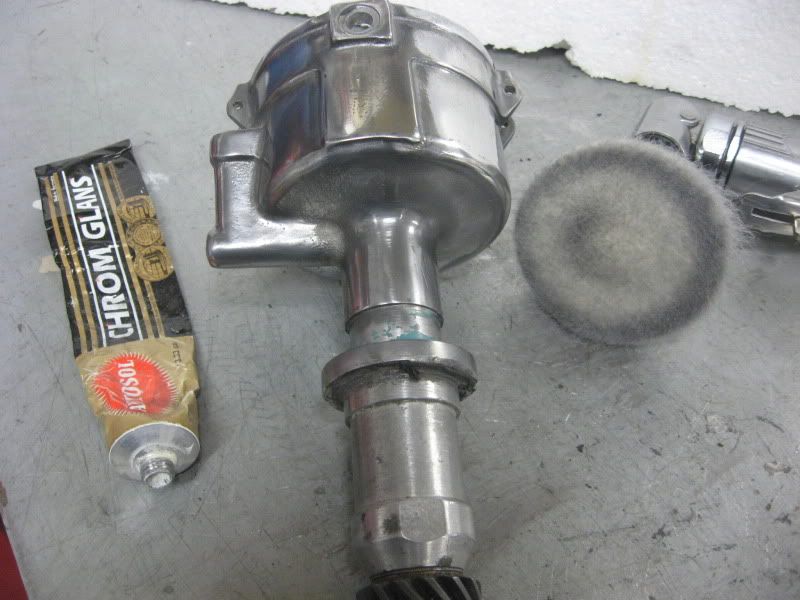
Starts to look ready but it is not...
.
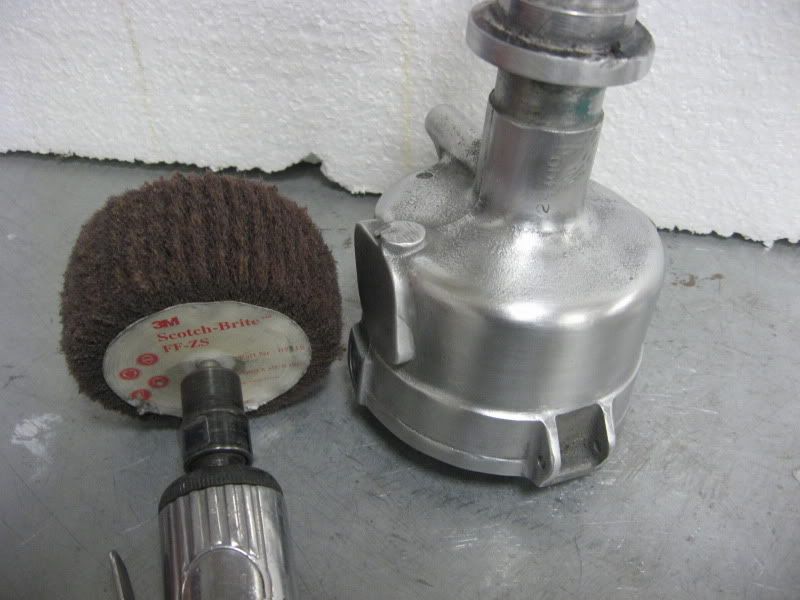
More fine felt is used for polishing... it makes surface to shine less brightly on this phase, but takes away possible residues of polishing material and that way gives aluminum equal shine around whole piece. Autosol is used to give aluminum it's shining back...
.
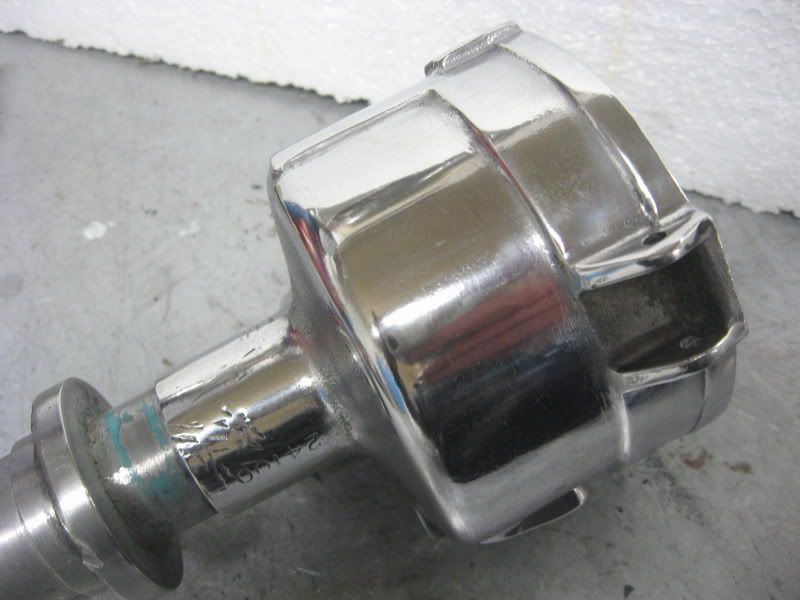
What happened, where is my shiny distributor?!
.
Well ok, here it is... Rubbing with clean cloth gives it that perfect final shine! No need to polish it from places which can't be seen, like underneath.